Setting up UE5 on OSX 12.4 (Apple Silicon)
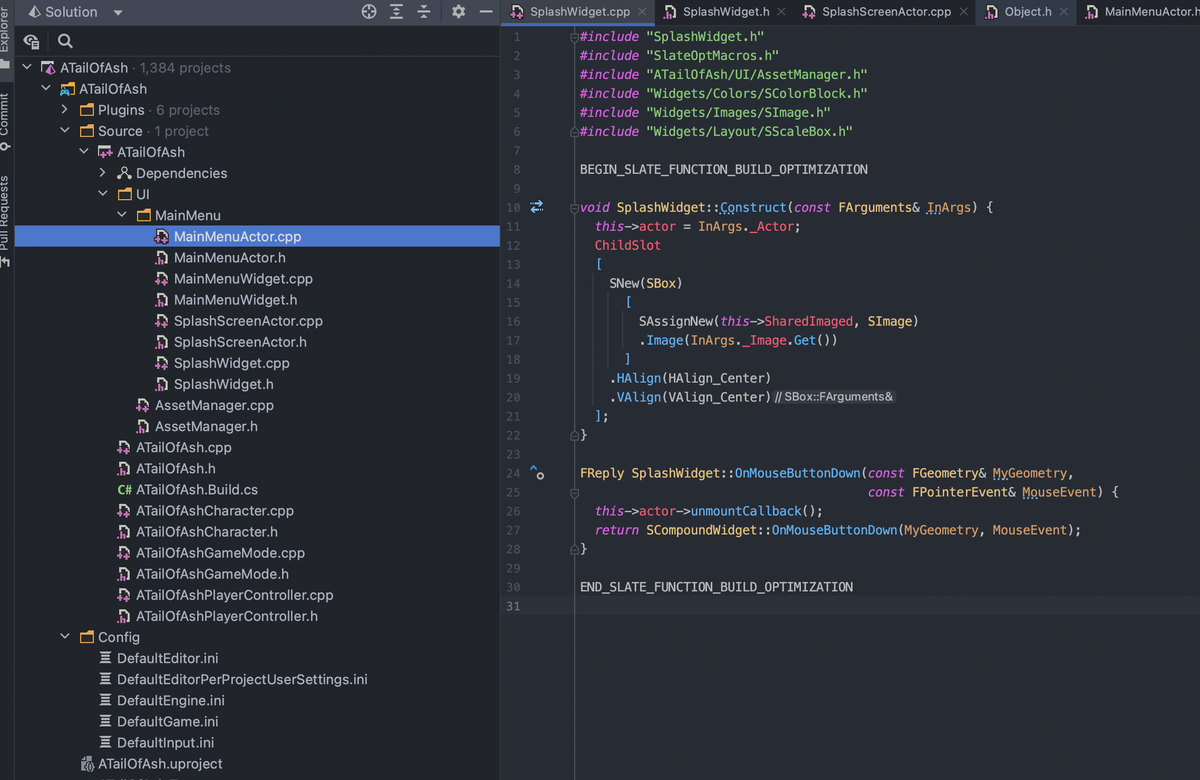
I have tried multiple times in the past few months to get a decent code-centric development environment up and running on Apple Silicon, and have failed almost every time. This time I thought I would try again and document the entire process.
As a professional developer with over 12 years of experience, I want a setup that is at a minimum, code-centric. I need something which can allow for fast iteration, quick compilation and some sort of live-debugging. In previous attempts, I tried Xcode / VS Code: both of which failed to provide a decent IDE experience. This time I’m going to try CLion (I use Jetbrains products during my work-hours anyways.). Follow along, I will also share my thoughts as we go.
Foreshadowing: I ended up using Jetbrains Rider instead (you will see why in step 7)
1. Installing Epic Games launcher
- Would not launch the first time. Had to force quit and restart the process.
While the launcher is definitely stylized around the Epic Games brand, I do find the interface relatively clunky, but also slow in parts. What I wish for is a separate set of tools that are developer focused. This means:
- Smaller UI elements
- Less padding
- Better use of screen real-estate.
- A focus on a very fast and snappy UI
Honestly, it’s actually infuriating in may places. Often times you click something and there is no visual feedback and you need to wait for tons of content to load before the subpage actually loads. This is especially annoying when trying to access anything marketplace related. Im hoping that there are some better tools / there is an alternative way to access content libraries without having to use the launcher. Im assuming this is the Quixel bridge.
2. Installing UE5
Epic games launcher now defaults the version to V5.x.x. Several months have passed and I see the engine is still at version 5.0.2 (I tried this several months ago), and I recall having quite a few issues with that.
The download is a bout 28GB, which seems reasonable given the capabilities of the engine + the editor.
Part of me wonders if this can split up into more modular parts. As in:
- Having the editor as a separate download
- Having the core engine as a separate download
- Starter content being separate.
This led me to the release notes, and that in itself was not super clear. I feel jetbrains does a better job of showing the exact build + the deltas therein.
3. Installing CLion
This part is easy. Simply install the JetBrains toolbox and click the install button. JetBrains toolbox is neat because it cuts out the bullshit, and is non-obtrusive. It also allows you to set up command line commands for opening up files easily. If you pair this with iTerm2, then you can set it up so that command + clicking on a file and/or line number regex, it auto opens up in the IDE. This is great if you tend to run watch and debug commands outside the IDE.
4. Launching the engine
At first glance it appears to crash, but about a minute later, the splash screen appears with a host of permission dialogs that appear. I was about try force quit the launcher and try again.
Shader compilation takes a while, but thats not an issue, it’s only a first time operation anyways. I just wish there was more feedback when the editor starts, at least show something in the dock :/
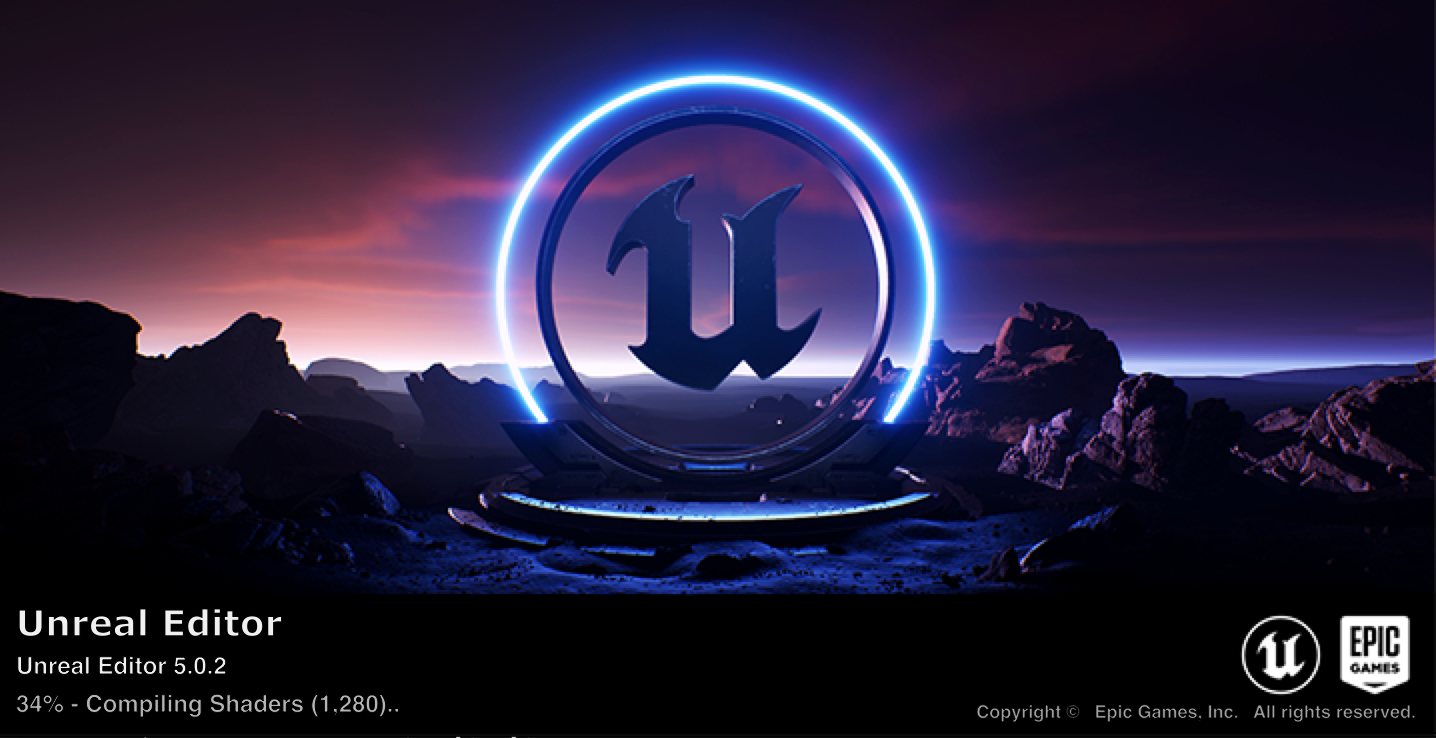

Its nice to see that all cores are being used (and not just the two main ones which is an Apple Silicon thing).
5. Creating an initial project
I selected the ‘Top down project’ and opted for the initial style to be C++.
At this point I am also prompted to download the XCode tools again. Most likely because I am running two different profiles on my macbook pro. Didn’t take long tho.
Project starts fine, but its interestingly still compiling shaders, this takes forever. Go make some coffee.
6. Running the project
At first when I ran the project, I thought it was running slow because it was compiling shaders, but now i’m convinced its because of the 4K monitor I have. That obviously causes 4x the amount of pixel rendering compared to standard 1080p. In OSX, you can change the scaling, but that still doesn’t change the resolution. Thankfully this can be set on external monitors (only for some reason) in display preferences. This greatly improves performance.
At this point I also noticed that the Epic Games Launcher was using over 10Gb of memory.

If you quit the launcher, it still stays open in the dock, so I had to kill the process from Activity Monitor. I thought this would kill the editor since I thought it might be a child process, but that turned out to not be the case. Im wondering if its because of the initial download and it failing to clean up memory used during extraction…
Its also not just me: https://forums.unrealengine.com/t/ridiculus-ram-consumption-by-eg-launcher/338158/11
7. Figuring out that CLion is not what we want
(technically you can skip this step)
The next step is to change the editor to CLion, you can do this via the editor settings section in the unreal editor preferences. You will then need to refresh the project filed which is done from the ‘Tools’ menu. Annoyingly, there is no logs around what it does in the Output Log panel, but I assume the logs might be somewhere else. Perhaps they are in the OSX Console, I’m too lazy to check.
Edit: I did check and cant find anything >_>
What is interesting though, is that it doesn’t actually set up a ‘.idea’ folder or anything similar. But opening the project folder after this operation , did cause CLion to behave differently. this time it brought up a project setup dialog.
CLion will at this stage: start indexing and loading all the symbols used in the project. It does appear to correctly reference the files in the shared directory where the actual engine source is located.

I decided to let this run for a while, but even after almost half an hour it hadn’t moved at all. I came to the conclusion that it’s stuck. I decided to reboot the entire IDE, and try again.
This time it appeared to no longer be stuck. Thats a good sign. I find that a lot of systems suck with state and initial configuration / project setup, and that restarts are almost always required after an initial setup.
Once that finished, it’s time to see if everything is working. Opening up the Character.cpp code, we can see that there are quite a few issues:

At this point I thought there could be an issue with the wrong build tool being used, and this lead me down the path of trying to solve the reference issues. I eventually ended up here: https://blog.jetbrains.com/clion/2016/10/clion-and-ue4/ which lead me to https://www.jetbrains.com/lp/rider-unreal/
I decided to give this a go instead.
7-B. Setting up rider

Again, we use jetbrains toolbox for this.
This turned out to be much better, When I loaded up Rider, I went through the setup wizard and also opted to install ‘Mono’. I then loaded up the same project folder (after deleting the .idea folder that CLion created) and it automatically detected that it was an Unreal engine project. It prompts you to install the Unreal link plugin which is simple, and then you have the option to patch the engine / patch the game. I opted to patch the game (it turns out after additional research that this is the only option that actually works). After a lengthly indexing operation, we can see that everything is configured correctly and setup to ‘Just Work ™’.
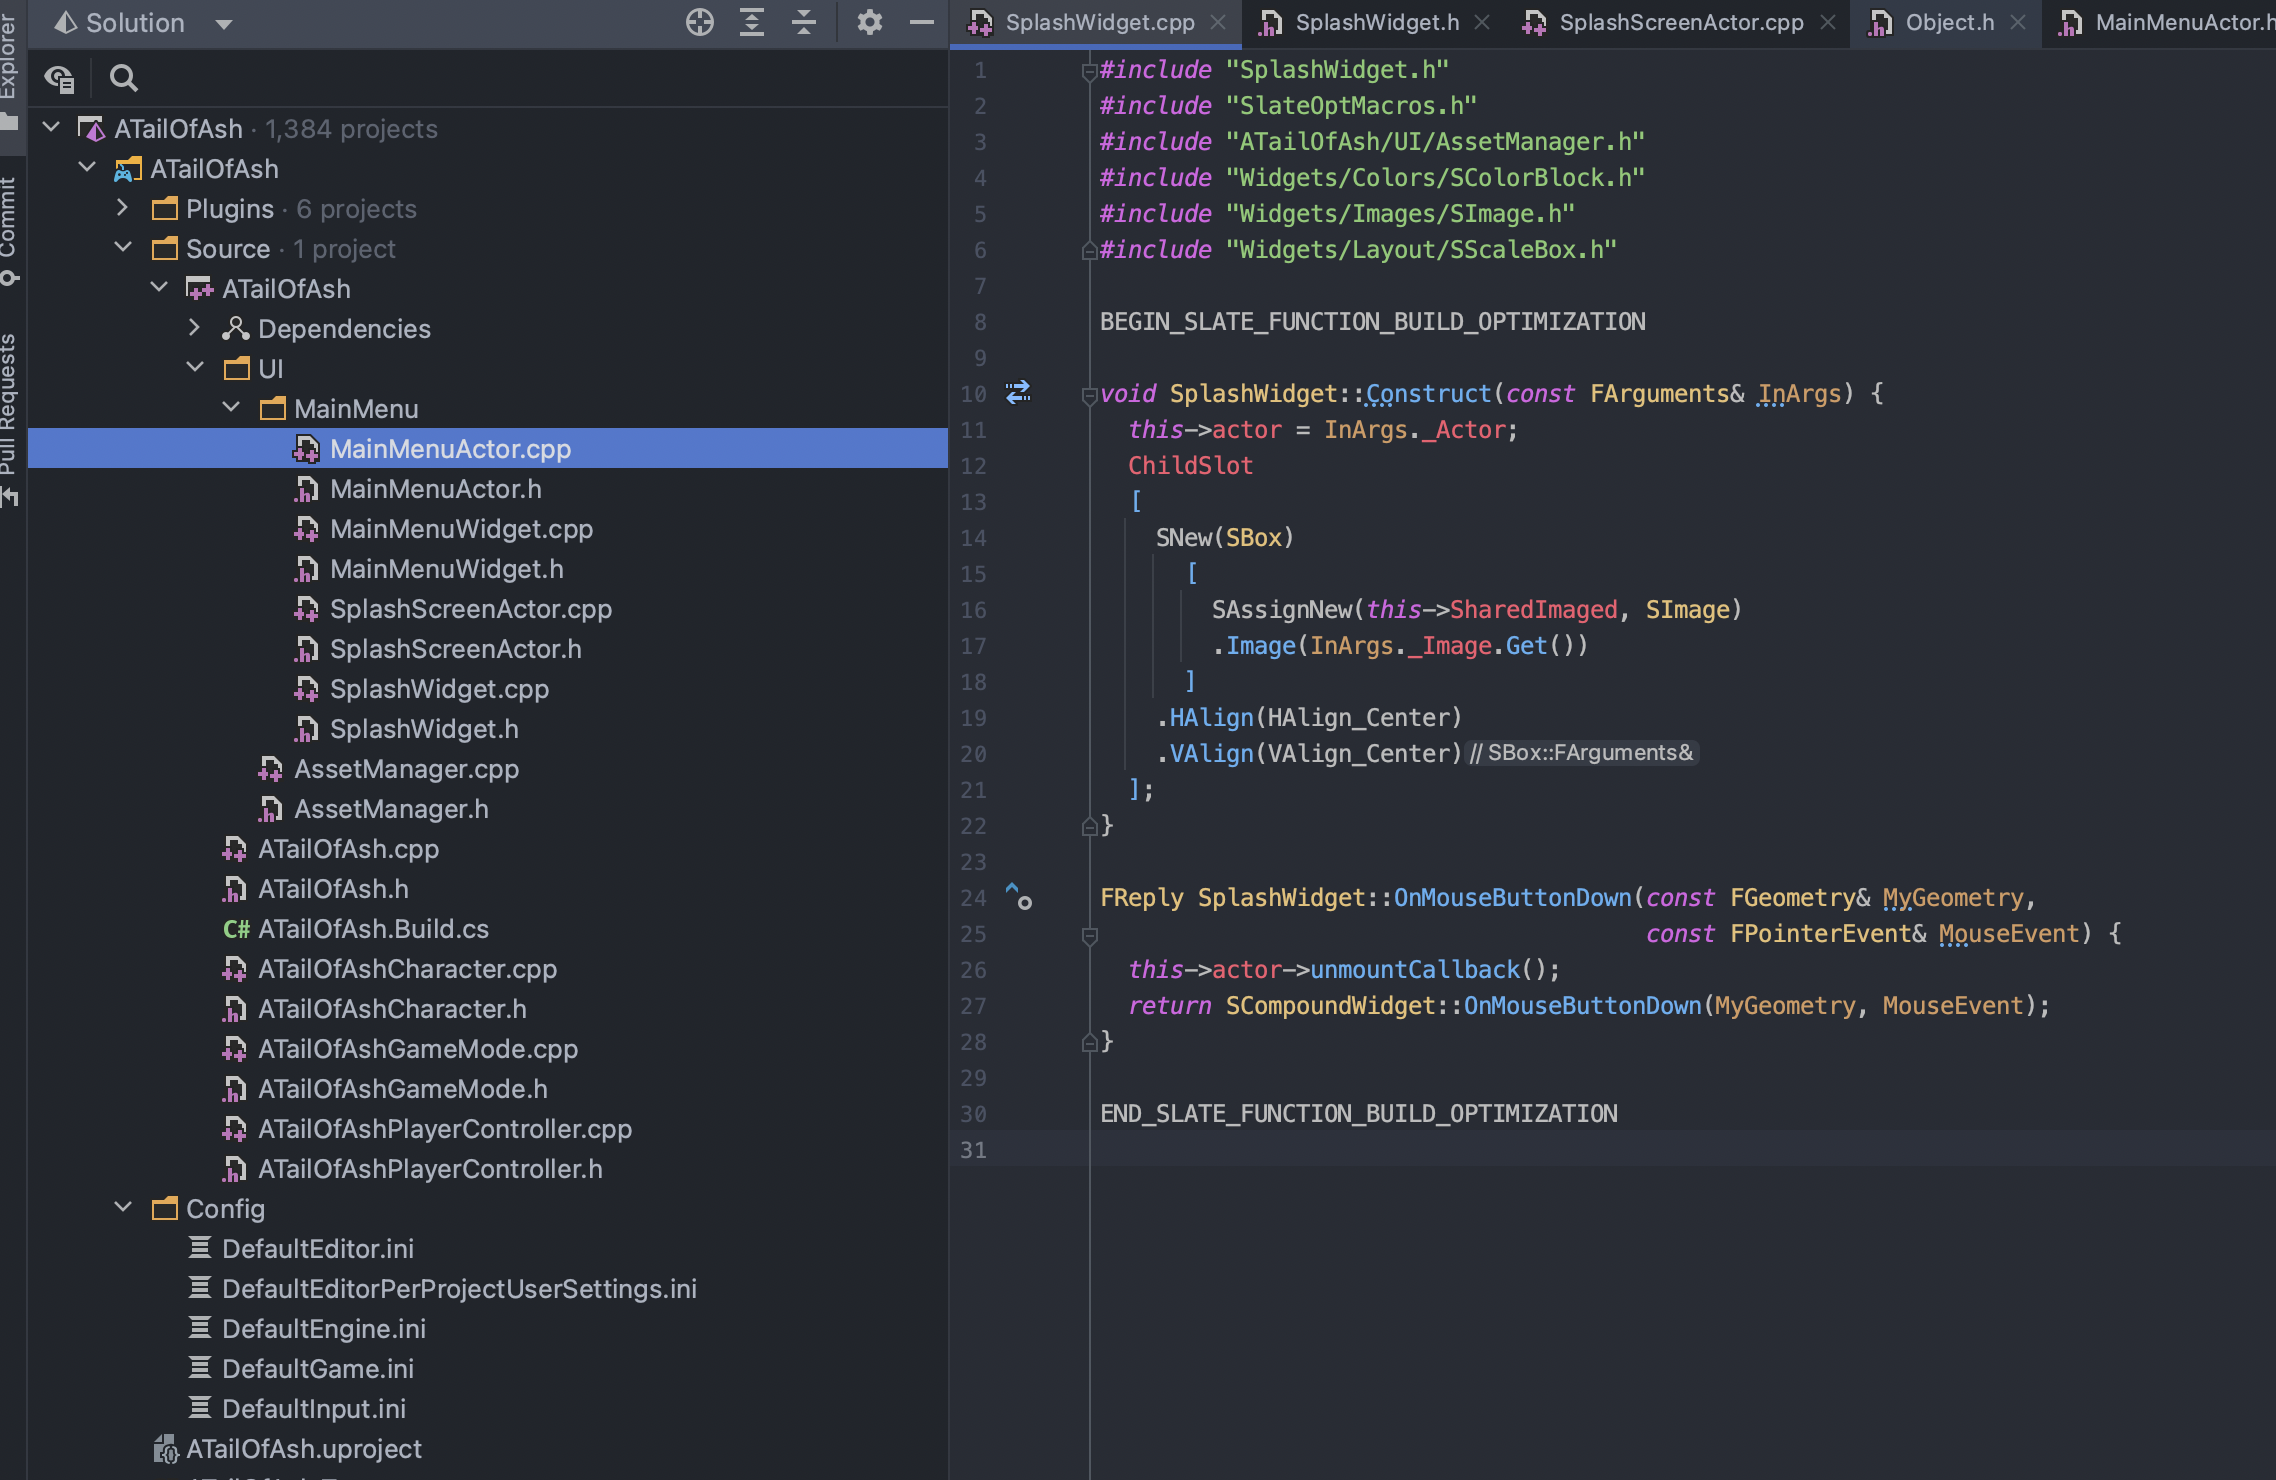
Here we notice that:
- It detects Unreal Engine (it incorrectly says 4, but thats most likely just the Rider plugin not being up-to-date at the time of writing).
- We detect that imports are not being used, this also proves our intellisense is working.
- There are no code-analysis errors compared to what we were seeing in CLion.
- The autocomplete provides us with suggestions based on the engine header files. <- This is really what we are after.
We might be inclined to call this a success, but we still need to test that builds and debugging work.
Clicking the build button shows output that looks promising:

This is great because we see that UnrealBuildTool is being used as expected, and of course: the build succeeds.
Things I discovered at this point
Honestly, this took about 3 hours while trying to figure out the next step.
Hot reload / Live reload
The community in general prefers the live-code approach to hot-module reloading. This is due to issues to a number of state-related issues, but frankly, this is no different to the issues one can experience with hot-module replacement in the web (think Hot module replacement in React components etc..).
Live coding in UE5 is not available for mac
So even if I wanted to use live coding, this is not possible unless I use windows (which I wont do). I don’t think it is support on mac even in version 4
Live coding appears to be a paid plugin
The official documentation / wiki on the UE wiki points to this website which appears to be a paid solution https://liveplusplus.tech/index.html . It also appears to be more of a generic solution that targets a host of different frameworks and technologies.
Hot reload does not work in UObject constructors
Due to the nature of how the engine is implemented, constructors are not re-run when you preview into the game (from within the UE Editor). Disabling realtime settings and trying all possible combinations of previewing the game, did not yield a working module reload for code in the constructor.
Building any of the other configurations except for the ‘DebugGame Editor | Mac’ will not work
These builds will complete, but they are not runnable due to permission issues, and or other configuration issues. If you want to do any of these builds, you will need to do them from within the UE Editor.
8. How to make code changes and test them ‘live’
First we set (it should be by default) the configuration to ‘Editor’
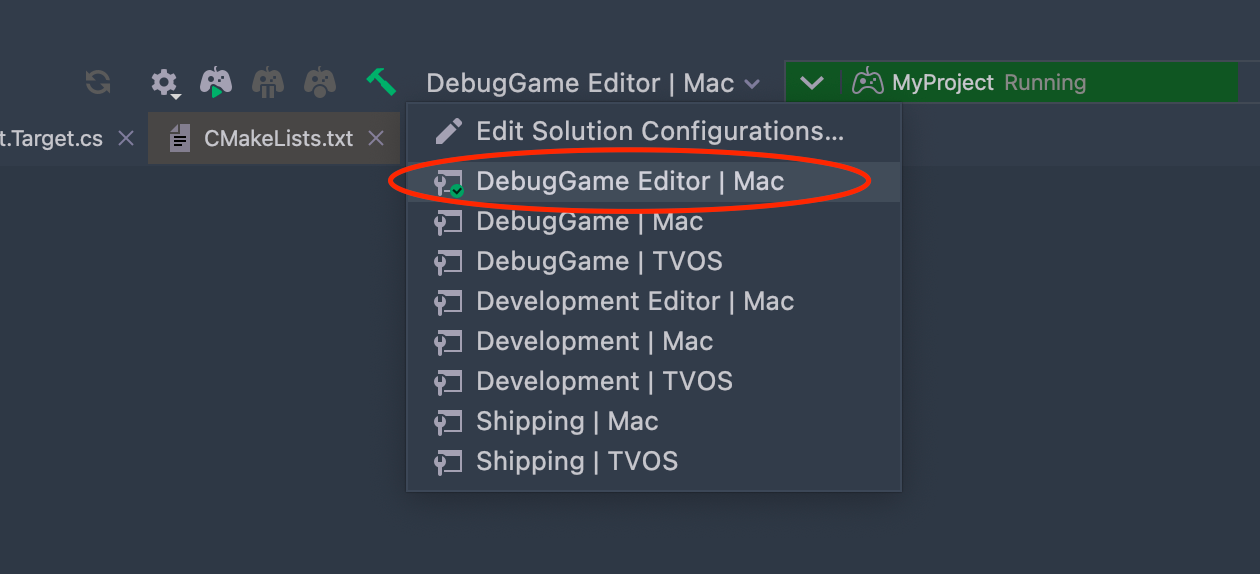
Next, we click the Build button, and then we run the solution:
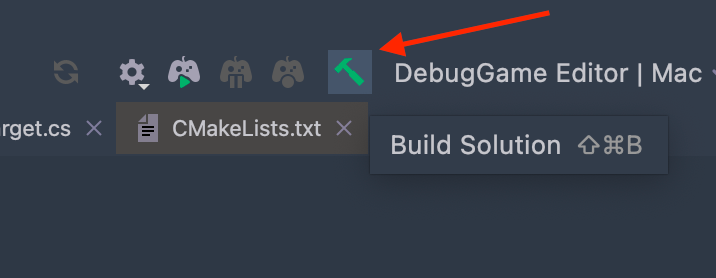
This then brings up the UE Editor. From here we need to set the preferred IDE to Rider uProject
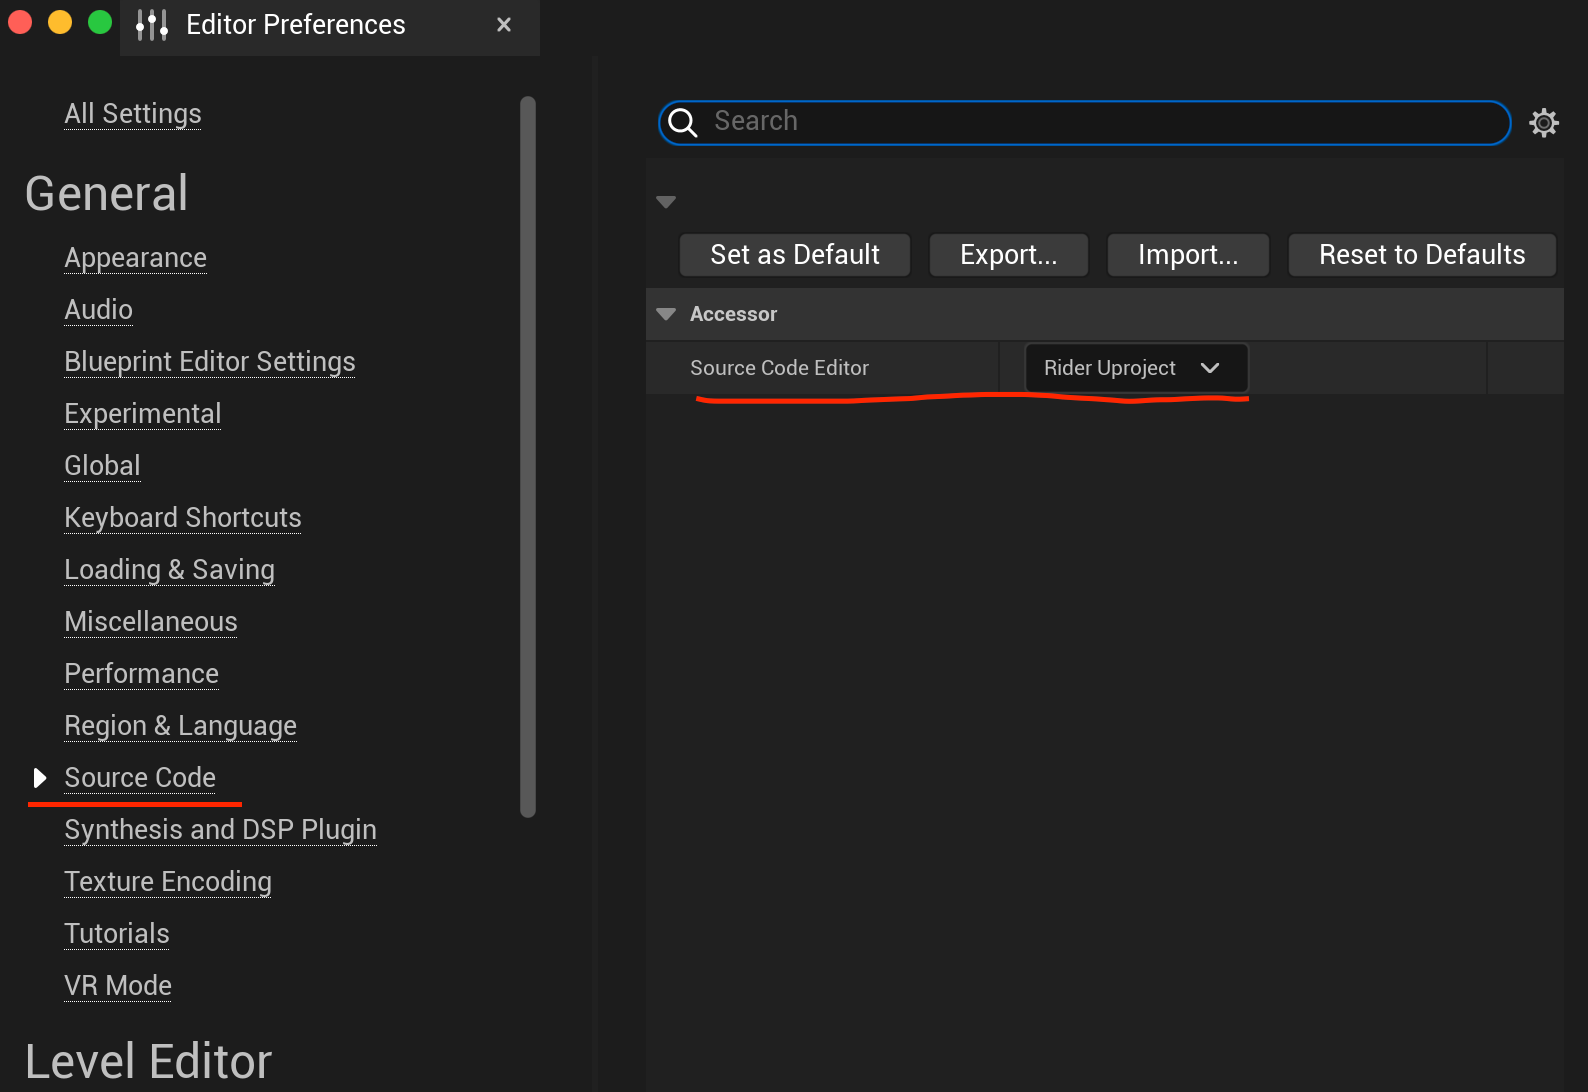
note: If you are using an EAP version of RIDER, then you will need to select the version in this drop down that contains the build number (there will be additional options).
Next, you will need to reload the UE Editor, and to do this you must ignore the prompt and shutdown the child-process from within the Ride IDE (press the red stop button).
Now you press the run button again, and this time the UE Editor will launch and the compile button will be visible:

This button will only be here if the above steps were followed.
Now make some code changes in a function that is not in an object constructor.
When you are done, click the build button again, and the UE Editor will now detect the code changes.
Now before you test the code, in the editor, you need to press the compile button in the UE Editor again:
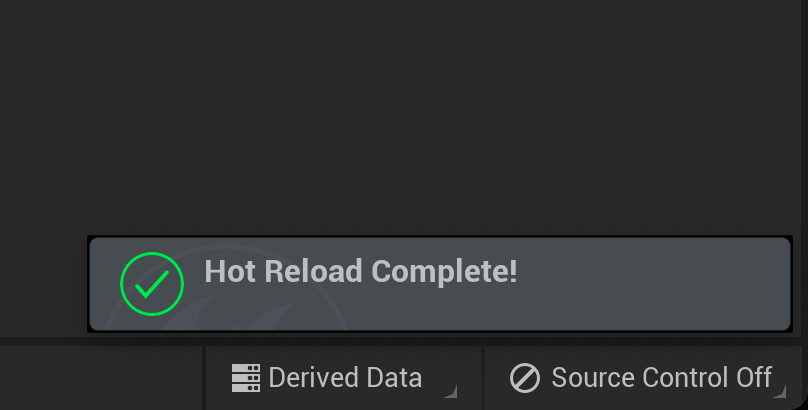
Pressing this button directly after the ‘Hot Reload Complete’ message appears, forced the editor to ‘actually’ reload the modules, and the process is very quick since it does a checksum on each file before individually compiling, and since nothing will have changed when you click this, the process is super fast.
And now you can finally press the ‘play button’ and your changes will be reflected. 🎉🎉🎉
And thats it!
Im obviously hoping that a lot of the cruft around getting this to work gets fixed over time, and I’m assuming that a lot of these steps will fall away. But for now I think this is going to work well for me. It only took like 4 or so tries over several months >_>


